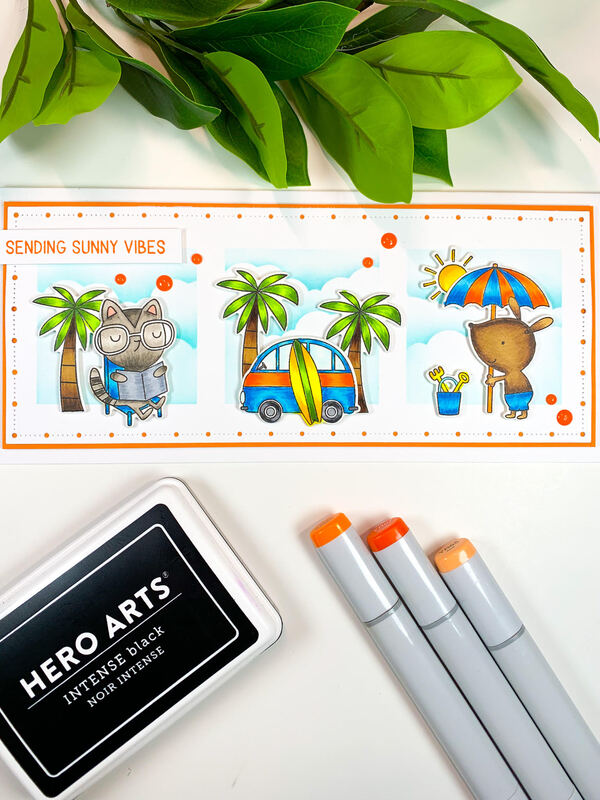
 Hey everyone! I hope you all are having a great weekend! Summer is here in Northern Cali, so it has been pretty hot here! With that in mind, it makes me want to go to the beach, so I wanted to make a beachy themed card. I decided to play with the stamp set Sunny Vibes from My Favorite Things. This is such a cute stamp set! First, I used the Alignment Slimline Stencil to make three cloud backgrounds using Cummerbund ink from Catherine Pooler and a blending brush onto a card panel I cut using a slimline die from Gina Marie Designs. I then stamped the images with Hero Arts Intense Black ink onto 110lb Neenah Solar White cardstock and cut them out with the coordinating die cuts. I then colored the images using Copic colors YG67, YG25, YG01, E59, E57, E55. B06, B04, B01, B000, W7, W5, W3, W1, N8, N5, N3, C5, C3, YR65, YR16, YR07, Y19, Y06, Y02, and R21. I then picked the sentiment from the same stamp set and stamped it with Orange Twist ink from Cather Pooler. I then popped up the images and sentiment with foam tape and added some orange enamel dots I had in my stash from Eyelet Outlet. I then used some orange cardstock I had in my stash to made the card panel and then glued it onto a 110lb white card base using Bearly Art glue. This card is so cute!! It looks so bright and sunny!! I hope you all have a great day and I will see you all later this week! Happy Crafting Y'all! 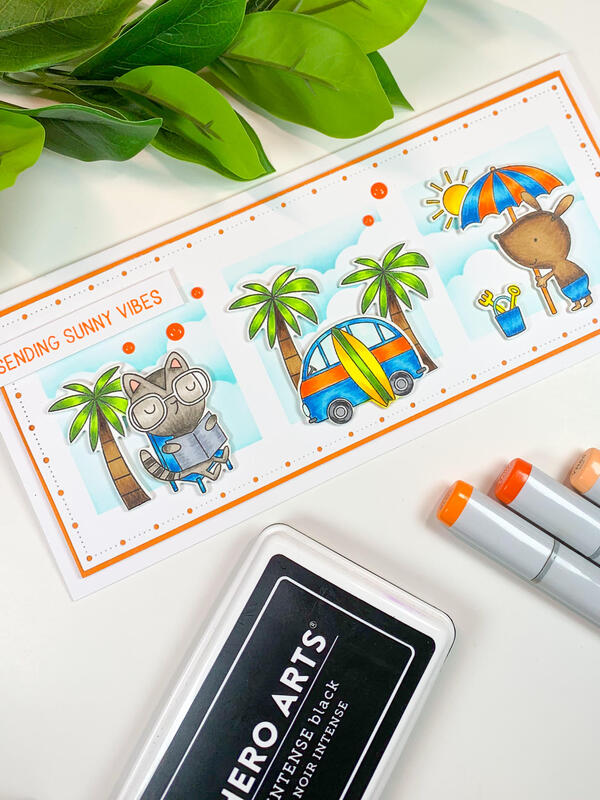 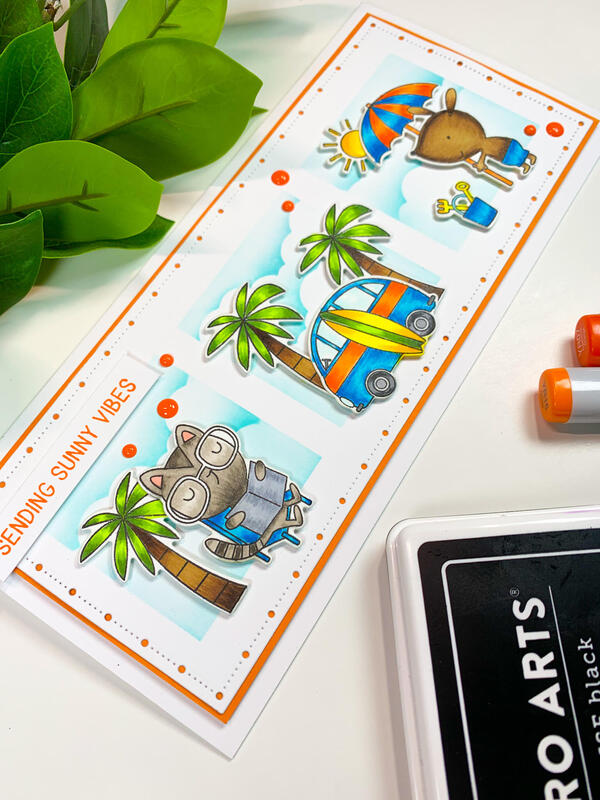 Hey everyone!! I hope your week is going great and tomorrow is Friday! Yay! I have recently discovered a newer company, Crafty Meraki, and I have to say I LOVE her stamp images! First, florals! YAY! You all know I love florals! She also has some very cute stamps that I need to try as well!! She is celebrating her 1 year anniversary, so you should go check her out! For today's card, I went with no-line coloring because this flower just screamed no-line coloring! The name of the stamp set is Love Forever and the artist for this image is Emily which she is an amazing designer! I follow her on Instagram and she is amazing! #Goals So first, I stamped the image with Ink On 3 Fade Out ink and then started coloring with Copic markers, first the black center, and then one petal of the flowers at time. The Copic colors I used for this card are N9, B39, B37, B34, B21, V17, V15, V04, YG67, YG17, YG25, and YG01. After I finished the flowers, I colored the leaves and then the smaller flower images. I then stamped the Miss You sentiment from the same stamp set using Hero Arts Intense Black ink. I glued the card panel onto a dark blue card base and then added some shimmer enamel dots that I had in my stash from Eyelet Outlet. I am very happy with the way this card came out! No-line coloring is very time consuming but so worth it! A little tip: while no-line coloring, use the image outline on the plastic covering that the package comes with as your guide so you do not loose your way while coloring. This helps me a lot! I hope you all have a great day and I will see you all this weekend! Happy Crafting Y'all! 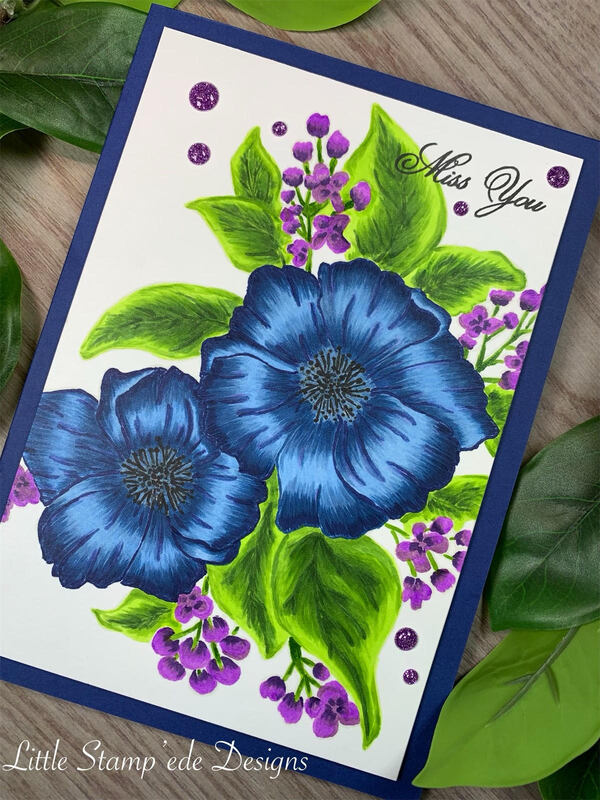 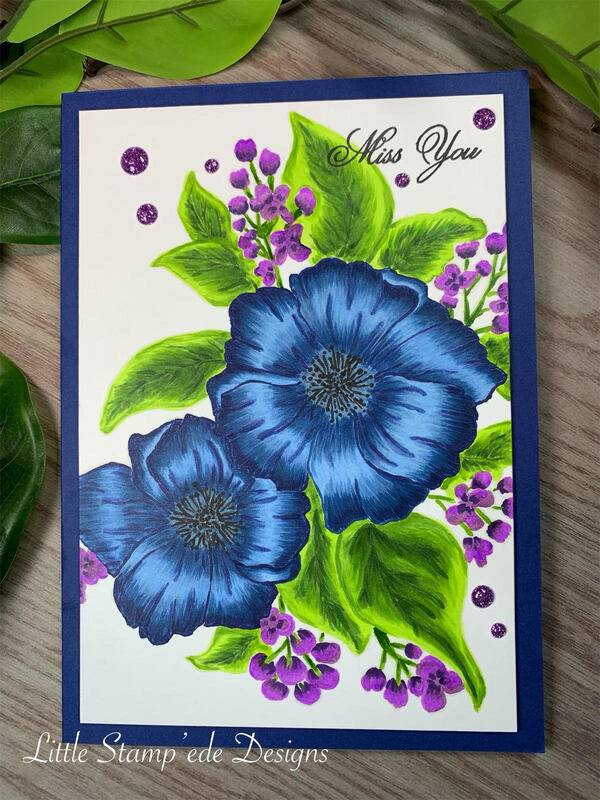 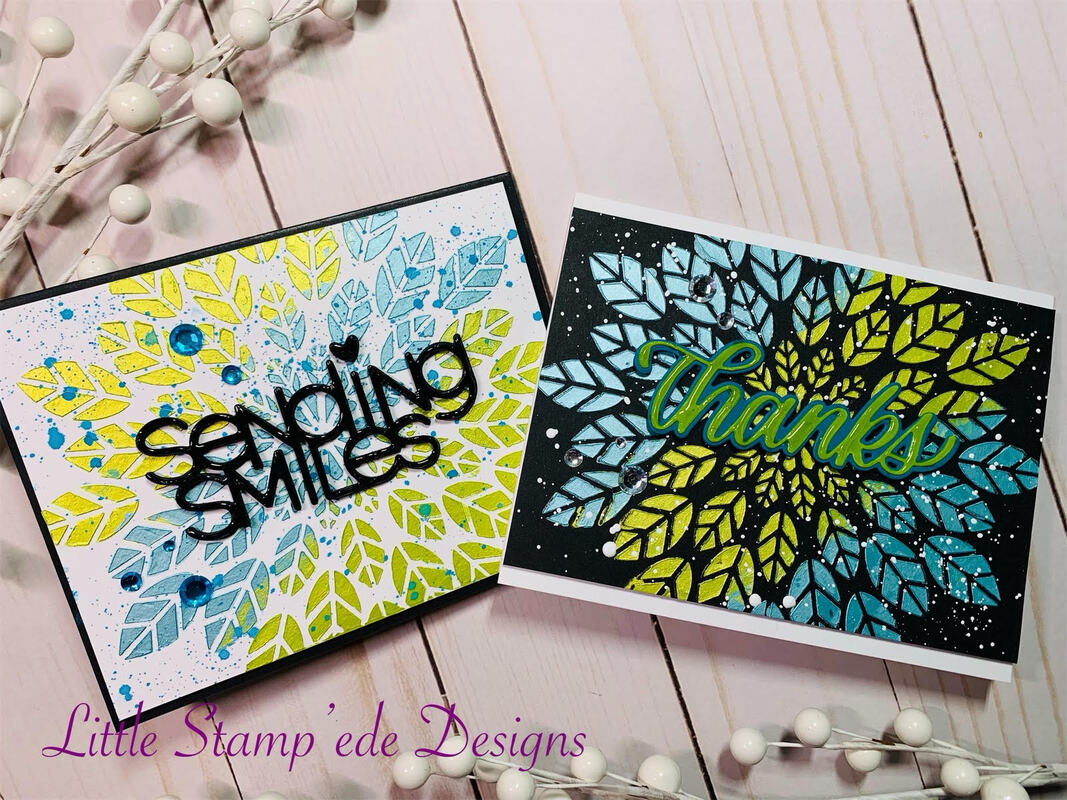 Happy Monday everyone!! It is the first day of June and summer is here in Northern Cali! I spent the long weekend at Craft Camp and I loved it! Can't wait to show you all what I created! For today's card, I used the Leaf Burst stencil from Altenew, which I love! I made a fall card last fall, and I wanted to make a bright colored card this time. I love working with stencils! First, I wanted to make two cards, one with a white background and one with a black background to show off the Nuvo Embellishment Mousse that I bought from Catherine Pooler. If you have not used Nuvo Embellishment Mousse yet, you need to! It is so velvety and glides onto a stencil like butter! So I cut a piece of white 110lb cardstock and a piece of 110lb black cardstock for my card panels. When you are deciding your card panel size, I always try to envision the space needed for my design. I also love the look of extending the card panel to end of the card base like I did with the black card. I then took my Leaf Burst stencil and taped it down using Mint Tape from Scrapbook.com. Using a art spatula, I applied the Nuvo Embellishment Mousse alternating between Citrus Green and Coastal Surf. I then lifted my stencil in the up direction to be careful not to disturb the stenciled mouse since it is still wet and can move. I then got out my Sending Smiles and Thanks sentiment dies from Simon Says Stamp and die cut the image in card stock and also fun foam. I then glued the card stock onto the fun foam using Bearly Art glue and then I applied Glossy Accents to give the sentiments some shine and dimension. After the mousse dried, I wanted to add some splatter so I added white splatter to the black card using Dr. Ph. Martin's Bleed Proof White and added blue splatter to the white card using Tim Holtz Oxide Distress spray Mermaid Lagoon. After that dried, I added the sentiments to the middle of the card panel and added some bling that I had in my stash. I then popped the card panels onto a card base using foam tap. I love how easy it is to use stencils and the possibilities with the mediums to use! The mousse adds dimension which I love! I hope you all have a great week and I will check in with you later this week!! Happy Crafting Y'all!! 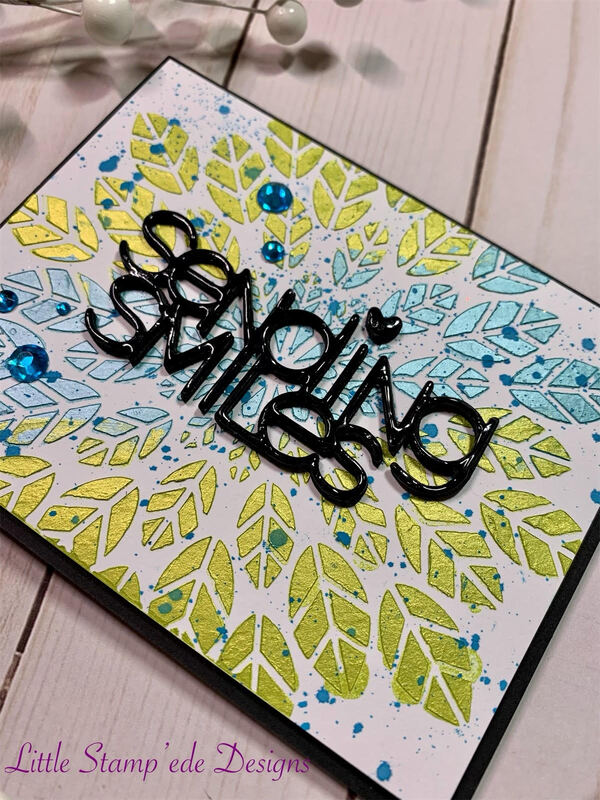 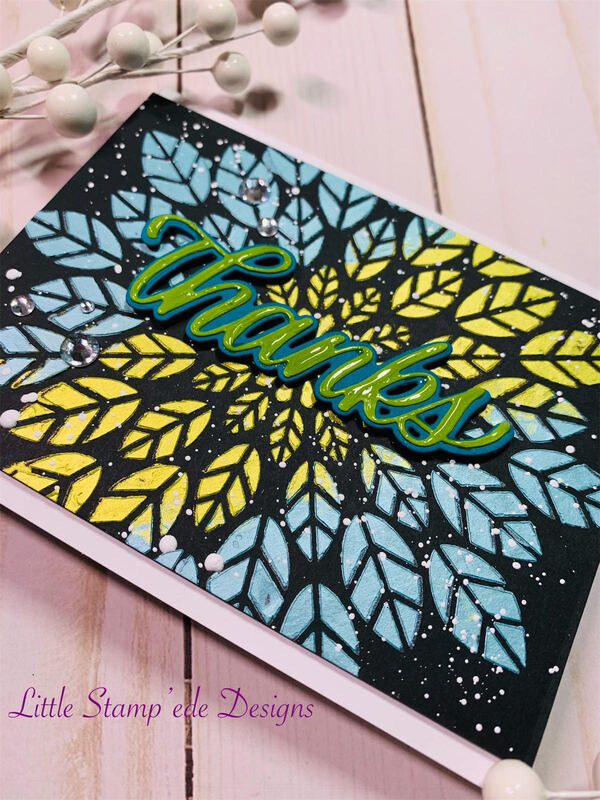 |
Follow Sammi:
AuthorI love to create and invite you to join me in my journey in this crazy paper crafting world we live in! 
Archives
February 2022
Categories |
 RSS Feed
