|
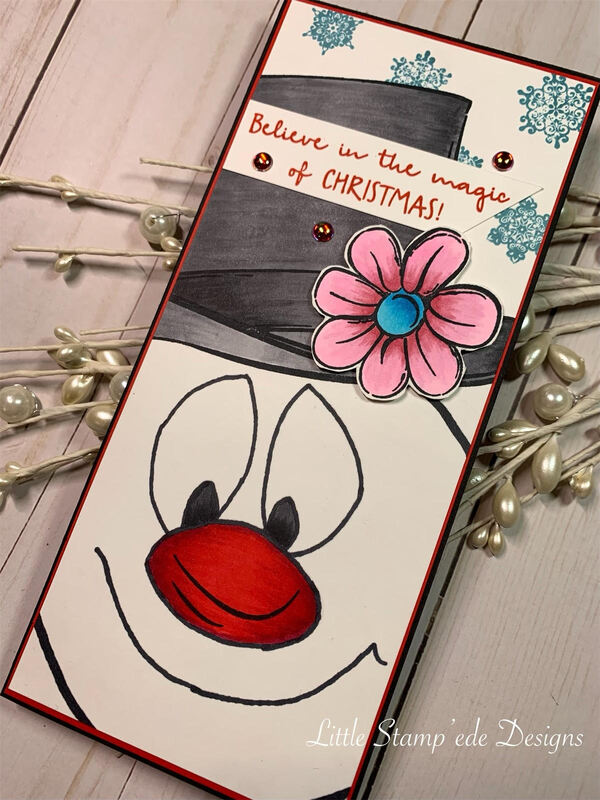
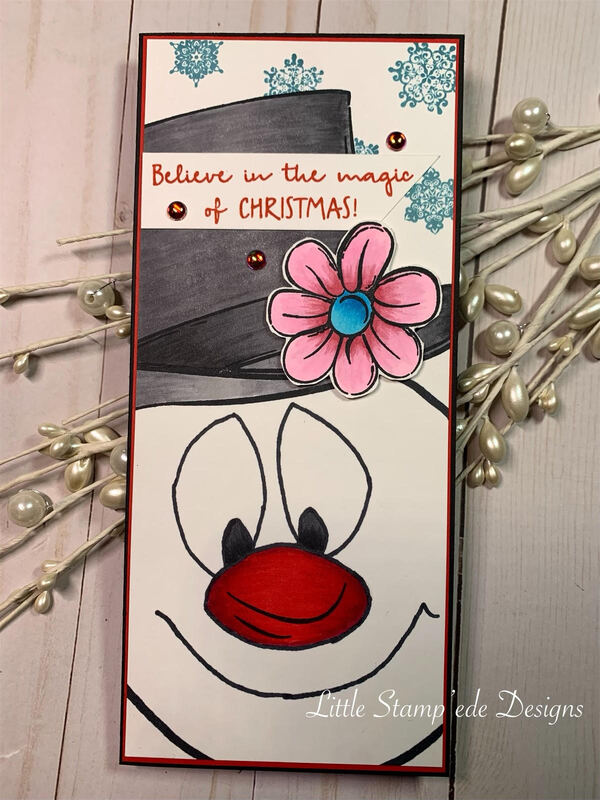
As soon as I seen the Frosty's Hat stamp set from Colorado Craft Company, I knew that I wanted to make a Frosty card! The thing is, I do not draw very often. So, I conquered my fear, and I drew Frosty! Now I am no artist, but I think he came out "okay-ish"! I went online to see what Frosty looked like and I tried to draw him from the original cartoon. You will have to let me know how you think I did lol!
For this card, I drew with a pencil Frosty's head until I was content with how he looked compared to the image I found online. I then needed to stamp the Frosty Hat from the stamp set, Frosty's Hat from Colorado Craft Company, but I needed to mask the bottom of the hat so it would look like it was sitting directly on Frosty's head. So I masked the bottom of the stamp and I stamped the hat with Tuxedo Black Memento Ink, because I was going to color the hat with Copic markers. After stamping, I colored the hat and then I drew with a black marker Frosty's head over the pencil drawing. I then colored in Frosty's eyes and nose according the colors in the original Frosty. I then stamped the flower in the Frosty's Hat stamp set, and fussy cut it out, then colored it with Copic markers. I then popped the flower on the hat with foam tape. I then decided that it needed some snowflakes (Frosty is made of snow, right!) so I stamped some snowflakes using the Nordic Snowflake stamp set from Colorado Craft Company using Balmy Blue ink from Stampin' Up! After that, I stamped the sentiment that comes with the Frosty's Hat stamp set using Poppy Parade ink from Stampin' Up! and cut it with my Tim Holtz Tonic cutter. I used Poppy Parade cardstock from Stampin' Up! for a mat and the card base is 110lb black cardstock. I was hesitant to make this card because it meant that I needed to actually draw, but I think it turned out cute! Let me know what you think! Copics used: Frosty's Hat: N8, N7, N5, N4, N3, N2 ; Flower: R85, RV21, RV02, B14, B02 ; Frosty's Nose: R39, R35, R27 Happy Crafting Y'all! If you don't know by now, Colorado Craft Company is a GREAT company and I love them! They have high quality stamps and such a great variety of stamps! For this card, I wanted to highlight their Lovely Legs line using their Seasons Girl series, Winter - Poinsettia stamp set.
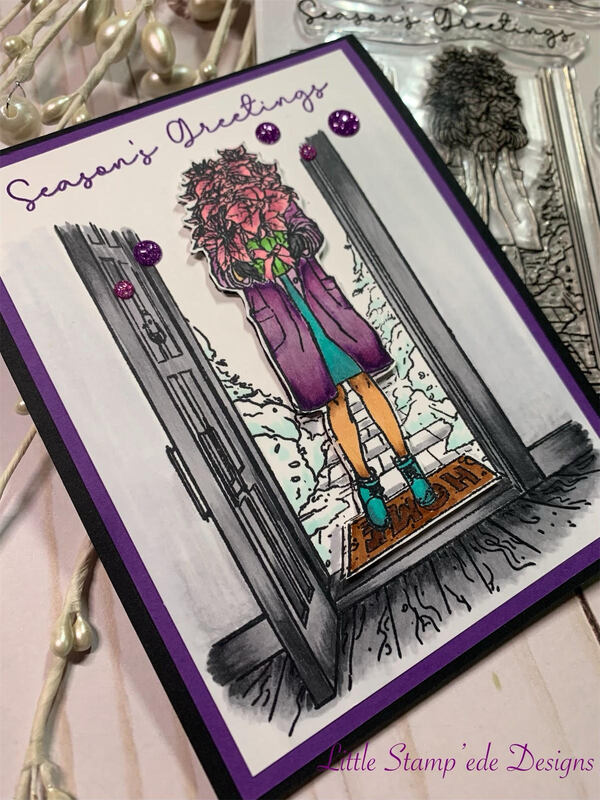
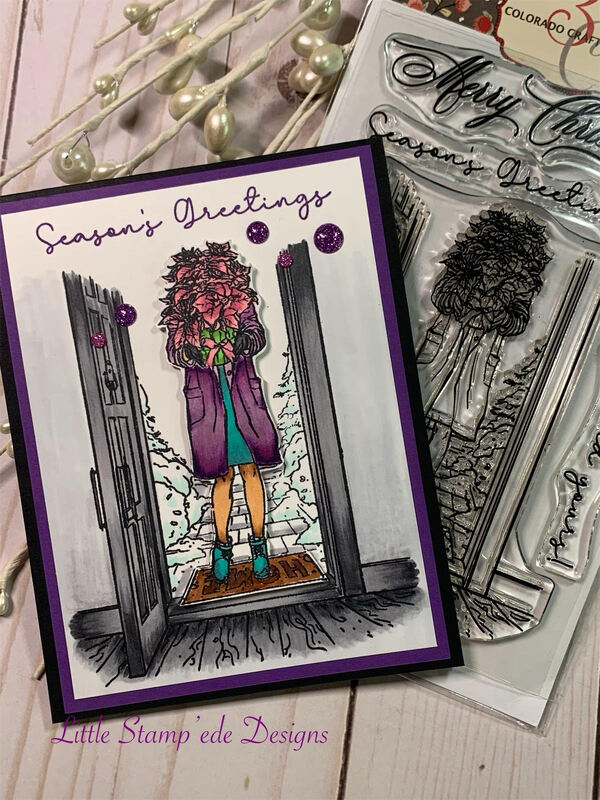
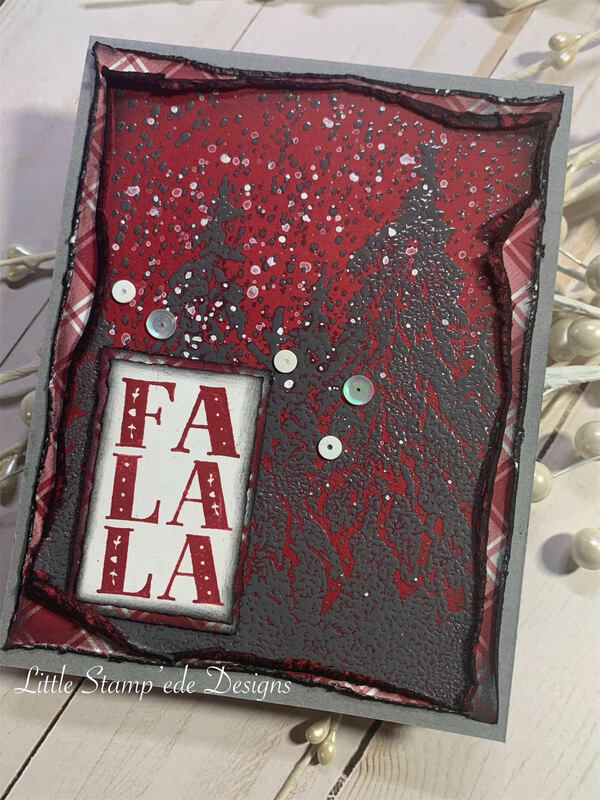
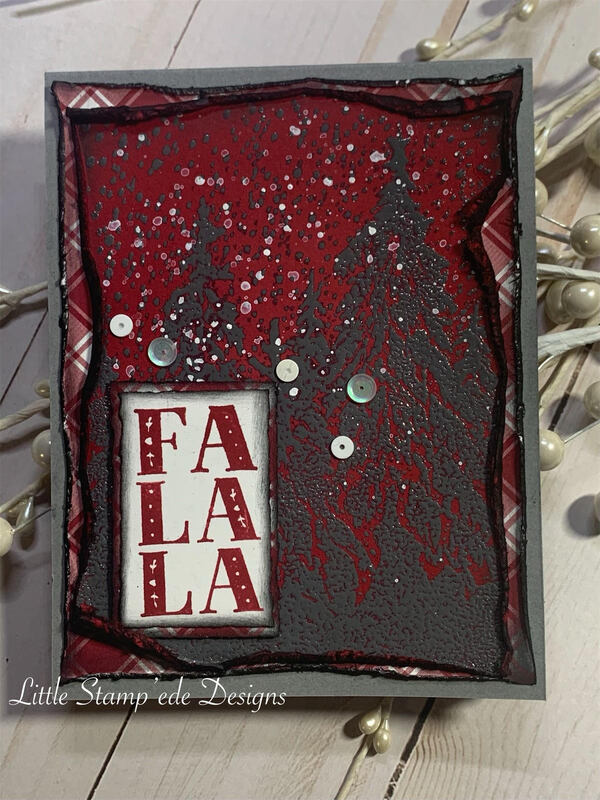
I stamped her in Memento black ink on Neenah Solar White cardstock using my Original Misti, then fussy cut the girl and the door mat out. I then stamped her again on a piece of Neenah Solar White cardstock. I wanted the girl to pop out with color, so I colored the door, wall and floor area using a gray color scheme with Copic markers. I then colored the girl and floor mat that I fussy cut with Copic markers using bright colors. I then popped the girl with foam tape so there would be some definition. I then choose the sentiment Seasons Greetings from the stamp set and stamped with Gorgeous Grape ink from Stampin' Up! and added some pink and purple bling. I then used some Gorgeous Grape cardstock as a mat and the card base is 110lb black card stock. I love the Seasons Girl series from Colorado Craft Company. I popped the girl out because I wanted to do something a little different and I think it adds some definition. Here is a list of the Copics I used: For the doorway, walls and floor: N7, N4, N2 ; the Poinsettias: RV34, RV32, RV21 ; Flower Pot: YG17, YG06 ; Floor Mat: E27, E23 ; Coat: V09, V06, V01 ; Dress: BG13, BG10 ; Skin: E23, E21, Snow banks: BG10 Happy Crafting Y'all! Well I wanted to play with the Alpine Wonderland stamp set from Unity Stamp Company again and show my love of distressing this time. Distressing has been one of my favorite looks and I love to tear paper! The Paper Distresser tool from Tim Holtz is so great to distress your paper! I started by stamping the Alpine Wonderland stamp with Versamark and heat embossing with Ranger Watering Can embossing powder on Cherry Cobbler cardstock from Stampin' up! I then used my Distresser tool and distressed the edges of the cardstock and decided to distress some plaid paper that I had in my stash too. After I achieved the distressed look I wanted, I used Black Soot Distress Ink to the edges to make it look more distressed. I then stamped the Fa La La stamp set from Unity Stamp Company with Cranberry Fizz ink from Catherine Pooler and cut the sentiment with the new Deckle Trimmer from Tim Holtz, and used the Cherry Cobbler cardstock to mat the sentiment. I then popped the sentiment with some foam tape. I wanted to add some white to the background so I splattered some Dylusions White Linen spray ink to add some contrast. I used some white and silver sequins for some bling.
I am pleased with the final results! Embossing can be quick and make a beautful card or project! Happy Crafting! One of my favorite backgrounds to do is watercoloring with Tim Holtz's Distress Inks. It is so easy!! I lay some Distress Ink on my Tim Holtz Glass Mat, spray with water, and then lay my watercolor paper down on it. I repeat this process until I achieve the look I want. Super easy, and I love the results!
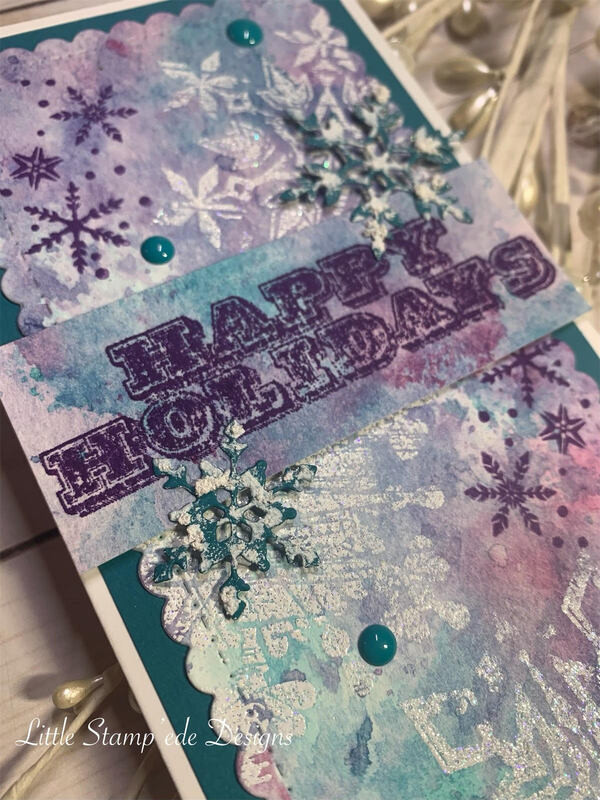
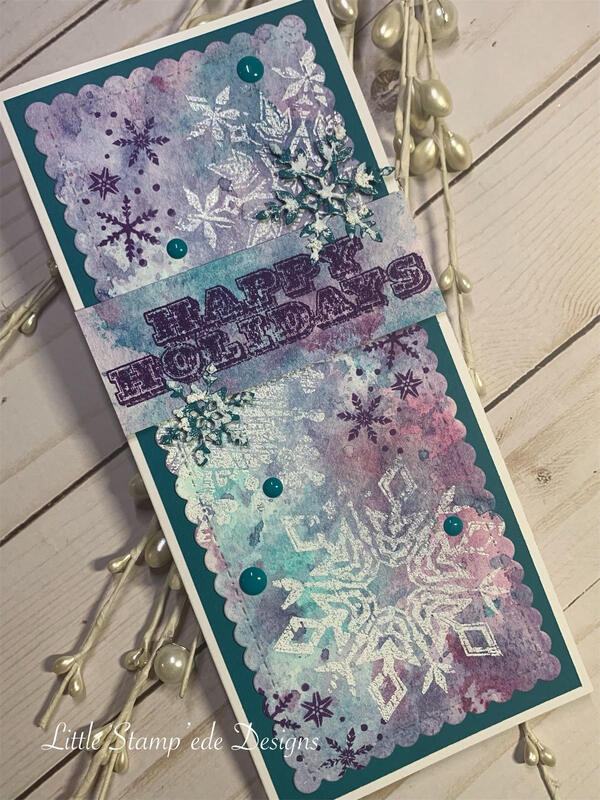
With this card, I used the Distress Ink colors Seedless Preserves, Picked Raspberry and Peacock Feathers for my backgroud and then used a Gina Marie Designs Scallop Slimline die to cut out my background. I used Tim Holtz's Stampers Anonymous Weathered Winter stamp set with Versamark and heat embossed the snowflakes with White Sparkle embossing powder from Hero Arts. I then stamped some smaller snowflakes from the stamp set Snowflake Wishes using Gorgeous Grape ink from Stampin' Up! and cut a couple of snowflakes from the coordinating die set. I then added some Snow Tec to the snowflakes to make them look like they have snow on them. The sentiment is from the Weathered Winter stamp set. Then I added some teal bling to complete the look. The mat is Indigo Island cardstock from Stampin' Up and the card base is 110lb white cardstock. I love the weathered look of these snowflakes! Added bonus, this is a quick card to make! Happy Crafting! It's the first day of December, so it seemed fitting to make a snowy card today! It was also an extremely busy day, so I wanted to come up with a quick card to make this time. Silhouette stamps are perfect for a quick, but classy and beautiful card! Since I wanted to do a snowy card, I choose a stamp set from Unity Stamp Company.
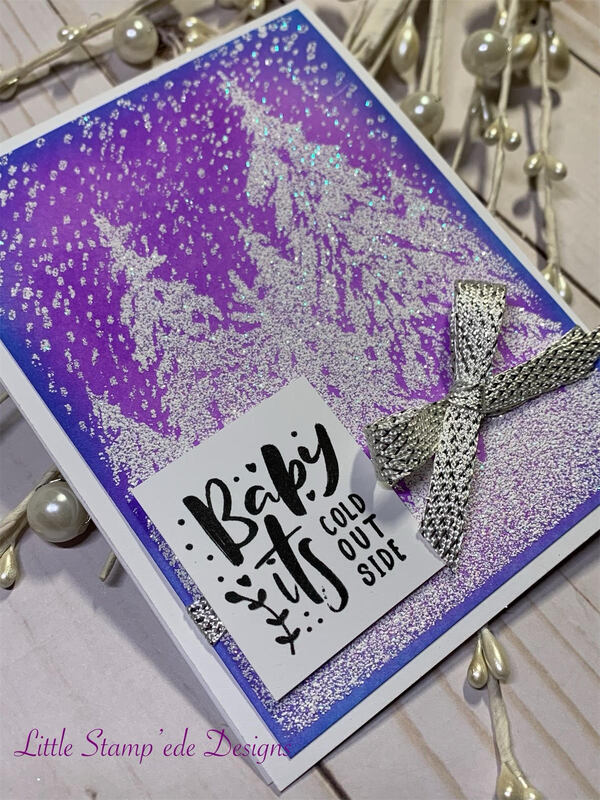
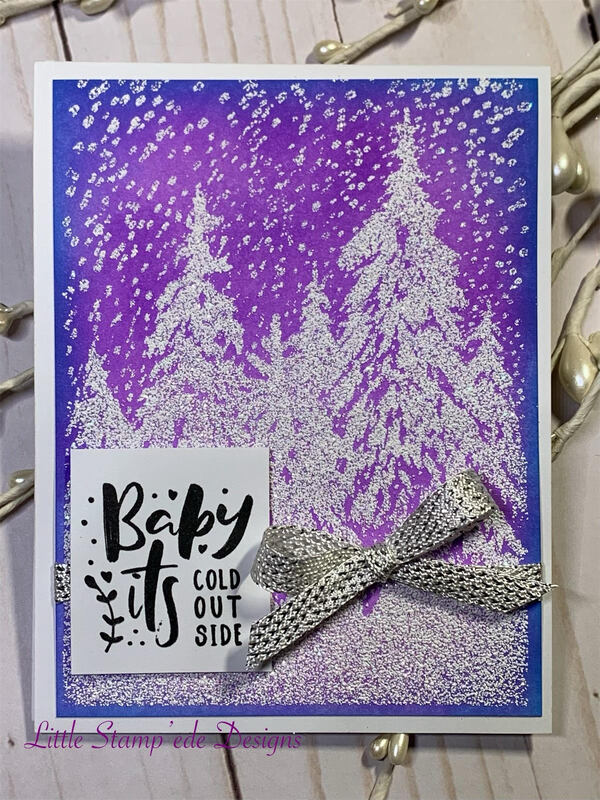
For this card, I used blending brushes with Tim Holtz's Distress Oxide inks Wilted Violet for the background, then brushed Mermaid Lagoon along the edges. I then stamped the Alpine Wonderland stamp set from Unity Stamp Company with Versamark covering the entire card. I then heat embossed using WOW! Embossing Powder White Puff Twinkle which puffs up and twinkles!! After heat embossing the image, I used some white and silver ribbon to tie a bow around the bottom, making sure the bow more to the right so I have room for the sentiment. The sentiment, Baby Its Cold Outside is from Unity Stamp Company, which I LOVE! I couldn't wait to use this stamp and I just received it today! I stamped the sentiment with Hero Arts Intense Black ink, and then popped it up with foam tape. It was that easy! Took less than 30 minutes to make! So after a long day at work, if you want to craft to unwind like I do, but don't have a lot of energy, silhouette stamps are great to use with embossing! Happy Crafting!! |
Follow Sammi:AuthorI love to create and invite you to join me in my journey in this crazy paper crafting world we live in! Archives
February 2022
Categories |


 RSS Feed
