|
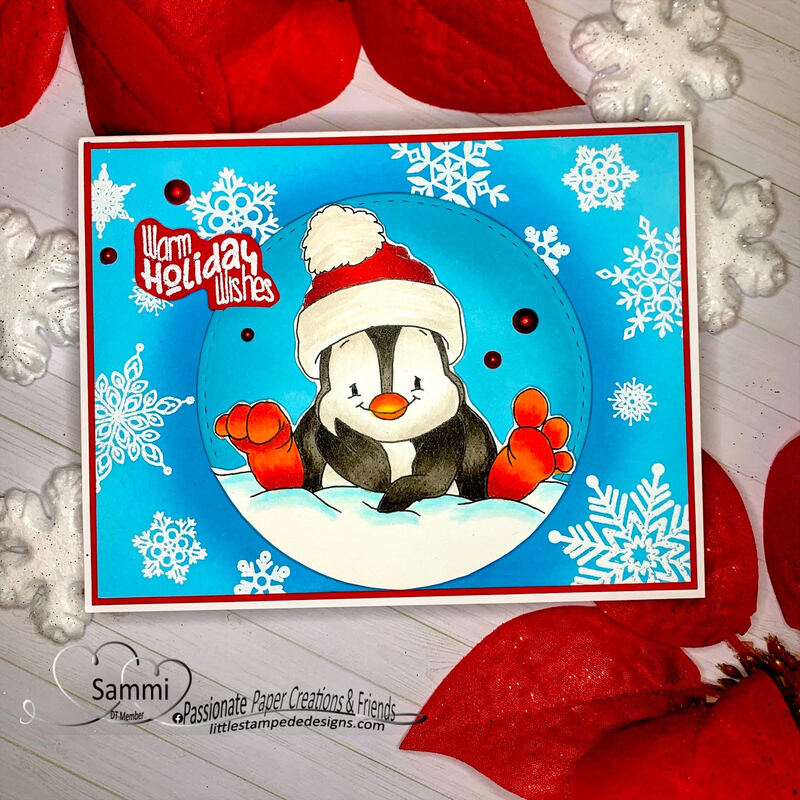
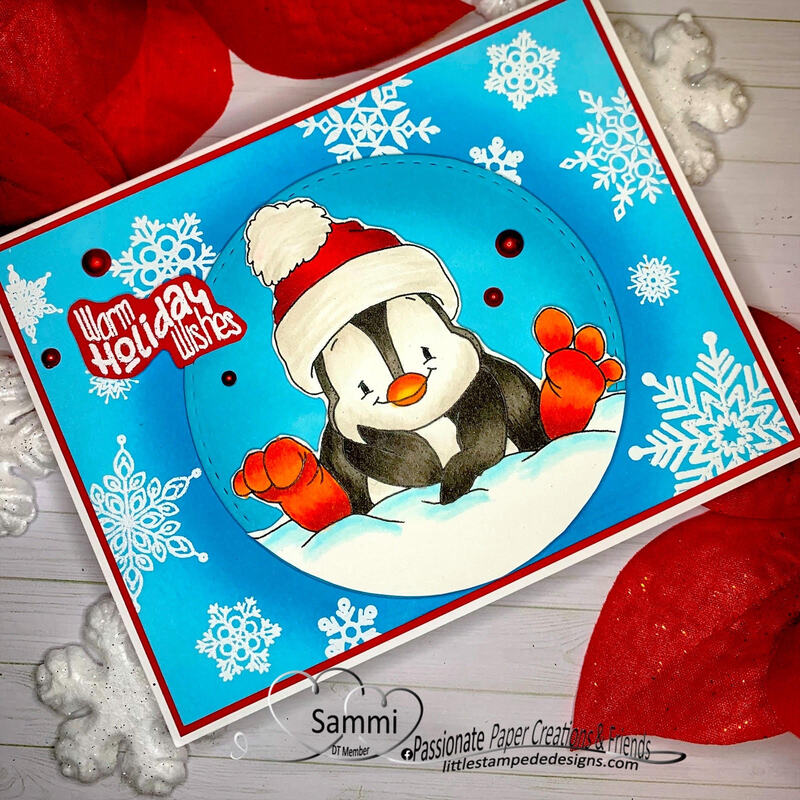
Hello everyone! Today I am sharing a card I made as part of the Design Team for Passionate Paper Creations & Friends, and Whimsy Stamps is our sponsor this week! I LOVE Whimsy Stamps! They have the cutest stamps! For this card, I picked the Thinking Of You Penguin image to play with from their digital stamps. Isn't he cute!! I first started by sizing the image to the size I wanted and printed him with a toner ink printer because toner ink is Copic friendly.
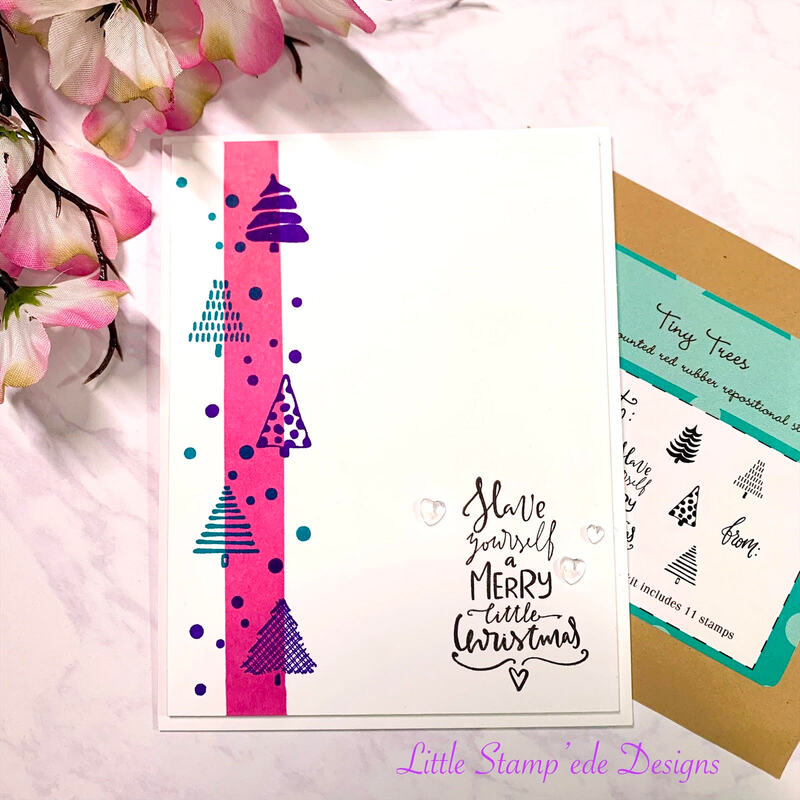
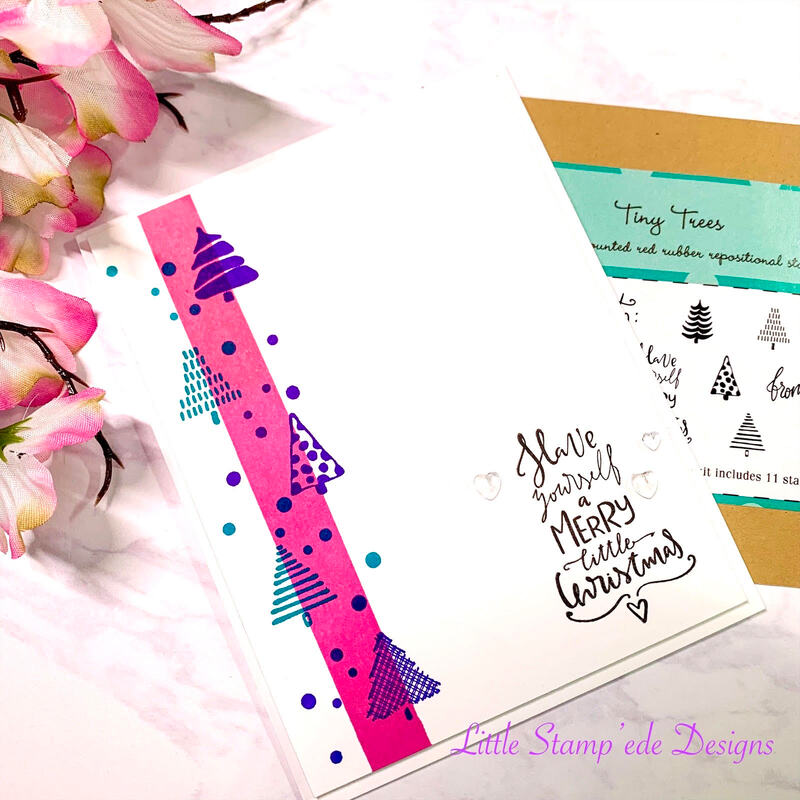
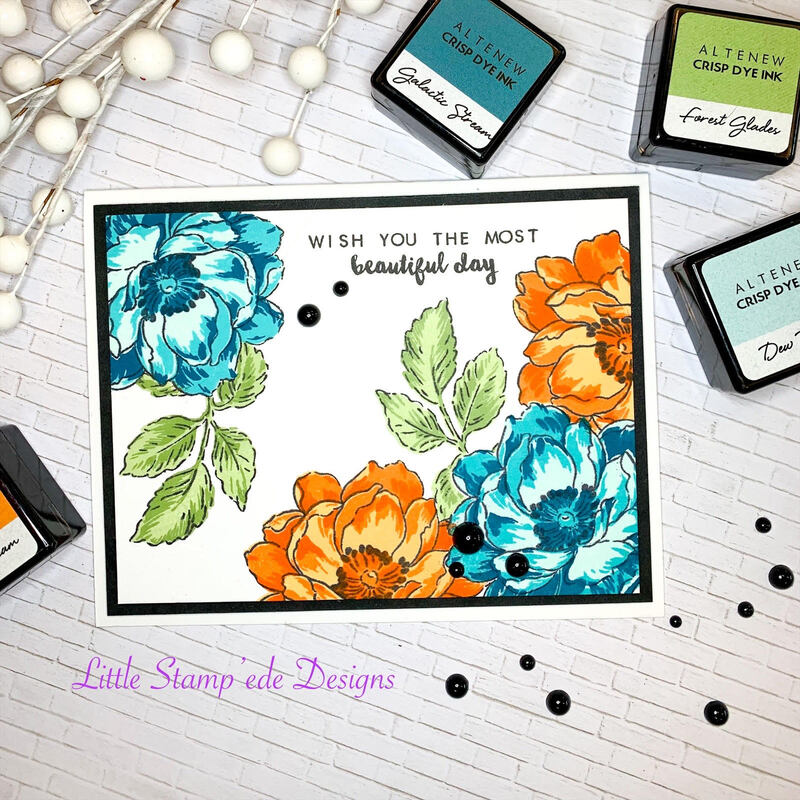
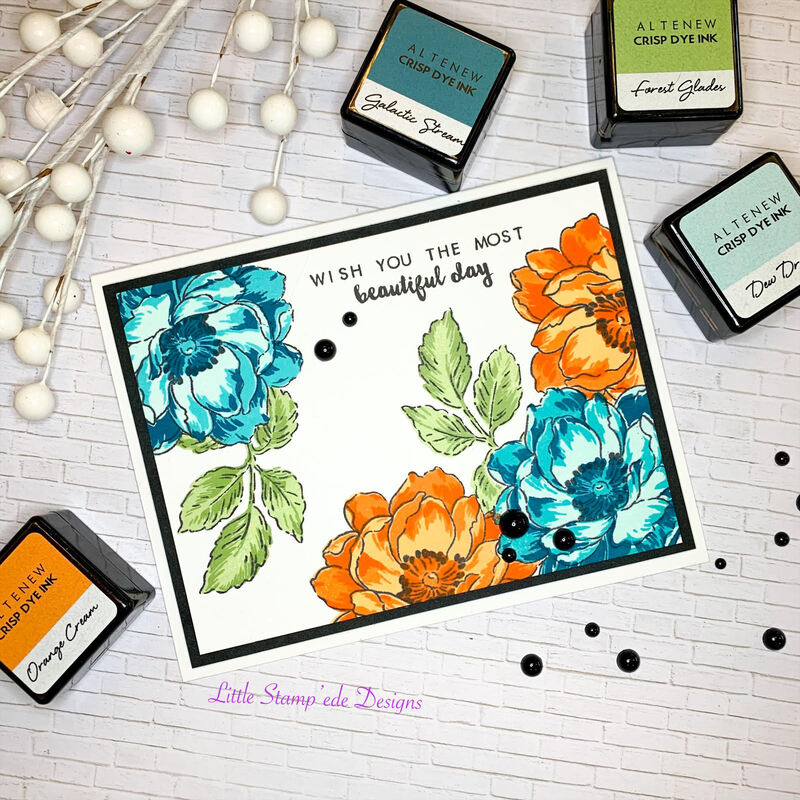
I then colored him with Copic markers and fussy cut the top portion of him out until I reached the snow, for I was not sure what I was going to do yet with the snow bank. I then ink blended a background with Distress Ink and white embossed some snowflakes for a snowy background. I then cut out a circle using a stitched circle die and ink blended it with Distress Ink and popped the penquin up on the circle with foam tape. I then fussy cut the snow bank to match the circle and popped the circle on the snowy background with foam tape. I had a holiday sentiment from another Whimsy stamp set so I white embossed the sentiment and then fussy cut it and popped it with foam tape, then added some red pearl embellishments. I then glued the panel onto a red cardstock mat and then glued it onto the white 110lb white card base using Bearly Art Glue. I love how he turned out! So cute!!! Please go check out Whimsy Stamps at whimsystamps.com and check them out! Have a great day! Happy Crafting Y'all! So those that know me, know that a CAS (Clean and Simple) card is very challenging for me! LOL! Well this month's theme for the Creating Kindness Design Team Blog Hop is CAS, so here goes nothing! I have been wanting to play with Unity Stamp's Tiny Trees stamp set so this was the perfect time to break them out. I ink blended the pink stripe using post-it notes to mask and then alternated the trees with purple and teals colors using inks from Catherine Pooler, Grape Crush and All That Jazz. I then added some dots in between the trees to fill in some empty space. I then stamped the sentiment in black and added some Boiled Sugar Hearts embellishment from Trinity Stamps. The card panel is popped onto the card base with some foam tape. That's it! It took about 15 minutes to make this card, but I stared at it for another 30 minutes because I wanted to add more to it! LOL! I think it turned out cute, and it was fast and easy! Great challenge!! Check out the blog hop here: mitosucrafts.com/?p=19718 www.paperhappinessity.com/ senseofwhimsy.com.au/2021/10/07/clean-and-simple-ckdt/ www.stampinwithmarcy.com/?p=9120 Happy Crafting Y'all! Hello! I am here today sharing my first project for the Altenew Educator Certification Program and I am starting with the All about layering 1 class. I love the layering stamps from Altnew and I chose to play with the Beautiful Day stamp set and it is such a beautiful stamp set!
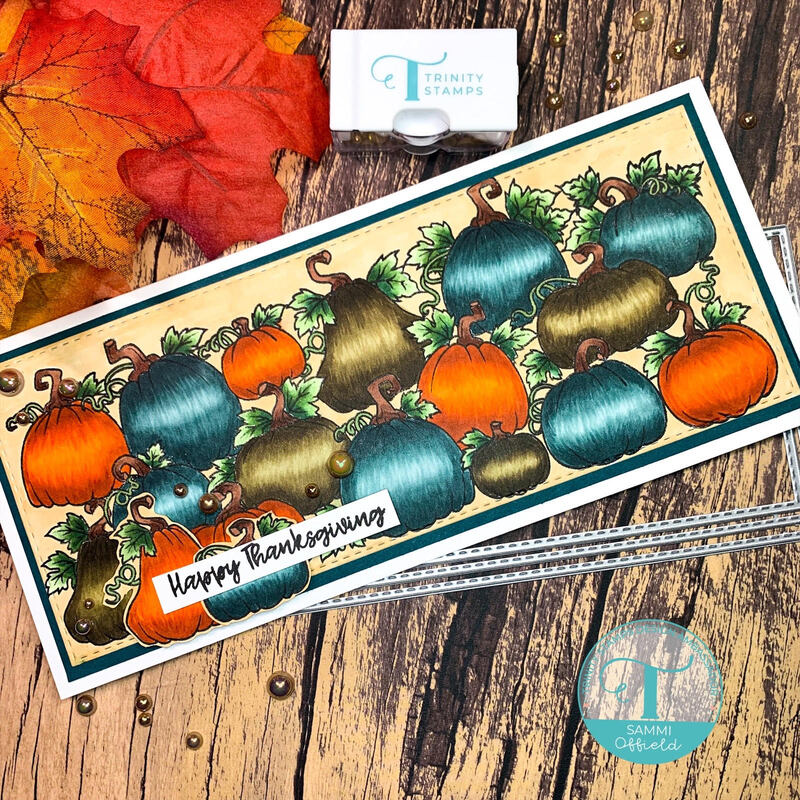
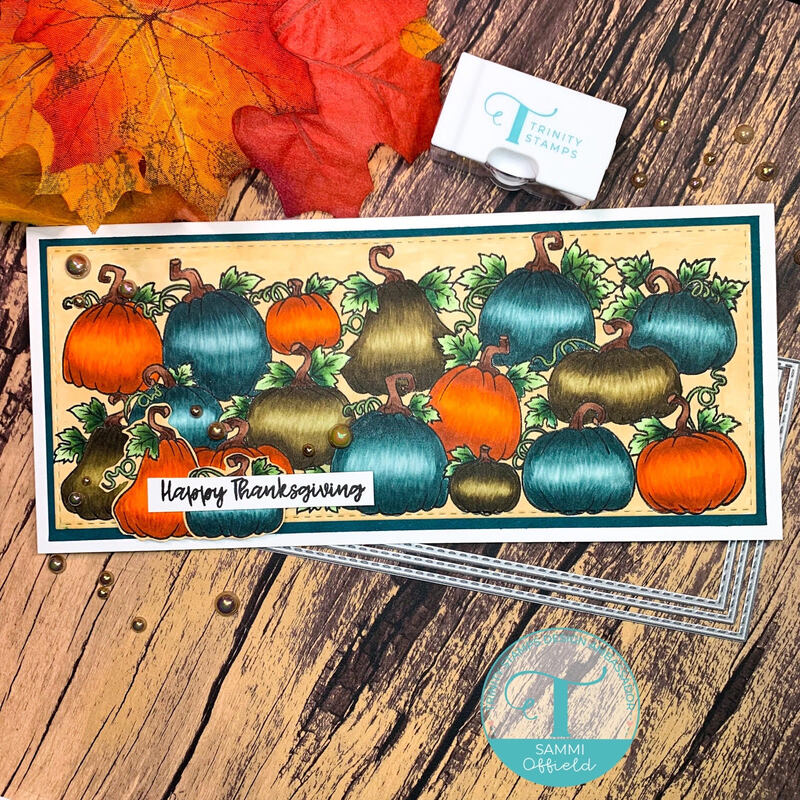
First, I made a mask by stamping the lined flower image onto a post-it note and fussy cut it out. I then cut a piece of white cardstock to 3 3/4" x 5" and stamped the lined floral image on the lower right hand corner using Altenew Jet Black ink. Using the mask, I covered the stamped image and stamped two more lined floral images on each side of the first image. I then stamped the lined floral image onto the upper left hand corner. Using the mask, stamped the lined leave stamp where I wanted them positioned around the flower. I then moved onto the solid stamp image of the flower and stamped the floral image with Altenew Dew Drops and Sunkissed inks while using the mask. I then stamped the next stamp in the layering sequence with Altenew Aqualicious and Orange Cream inks while using the mask. The last step of the flowers was the next stamp in the layering sequence using Galatic Stream and Autumn Breeze inks. I then moved onto the leaves, and stamped the solid stamp image using Altenew Frayed Leaf ink while using the mask, and then stamped the next stamp for the layered look with Altenew Forest Glades ink. I love this color combo! I then stamped the sentiment image in Altenew Jet Black ink and glued my card panel to a black mat measured at 5 1/4" x 4" and then glued to the A2 sized card base. I then added some black embellishments to complete the look. I am very pleased with the end result! Check back soon for the my next project for the All About Layering 2 class! Okay, so I cannot get enough of this stamp set! Last time I did a Halloween card with it, so this time I wanted to make a Thanksgiving card with it. I stamped the image and then used the stitched slimline die from Trinity to cut it out. I then colored the pumpkins with Copic markers, make the light color fade into the middle of the pumpkins to make that "glow" look. I then colored the background with Copic markers and then matted it with a teal cardstock to match the teal pumpkins. Stamped the sentiment and cut it out into a strip and popped it up with some foam tape and then added some embellishments from Trinity. Such a great Autumn card!
Happy Crafting Y'all! |
Follow Sammi:AuthorI love to create and invite you to join me in my journey in this crazy paper crafting world we live in! Archives
February 2022
Categories |



 RSS Feed
