|
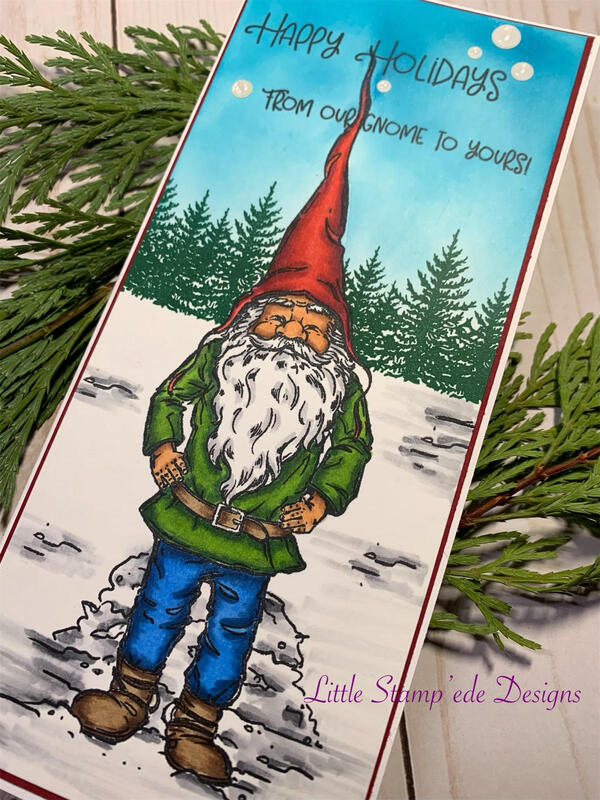
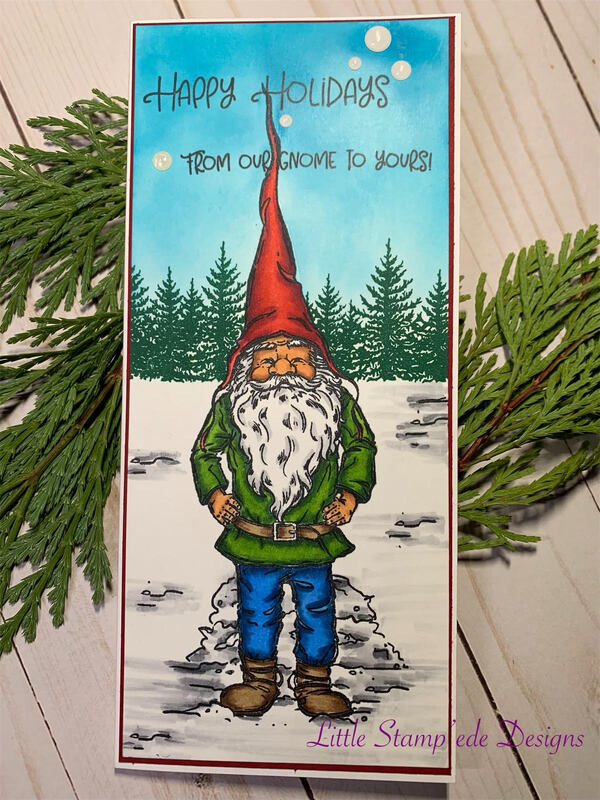
If you hadn't noticed, gnomes took over in the card industry last season! Everywhere I looked, gnomes were everywhere! Well....they are still here this season! When Colorado Craft Company came out with their Slimline Gnome stamp set, I just had to have it! I just love him and I think I will name him Fred!
To show Fred some love, I decided to color him with Copic markers. I stamped him with Memento Ink, then I wanted to add trees in the background. So I brought out one of my favorite stamp sets from Gina K, You Warm My Heart, and masked the trees behind Fred. I then colored him with Copic markers, which I will list the colors at the end of the blog. After I colored Fred, I wanted to add some snow drifts in the background, so I inked up a small section of the snow drifts next to Fred's feet and added some snow drifts behind Fred. I then colored the snow with Copic makers. For the sky, I used a blending brush and lightly brushed on Tim Holt's Distress Oxide Ink, Mermaid Lagoon. I then added the sentiment from the Slimline Gnome stamp set and added some white bling from Gina Marie Designs. I matted the card with Cherry Cobbler cardstock from Stampin' Up! and the card base is 110lb white cardstock. I am very happy with the way Fred turned out! Copic colors used: Fred's hat: R39, R24, R22 ; Fred's shirt: G28, YG67, YG25 ; Fred's jeans: B37, B32, B24 ; Fred's skin: E25, E23, E21 ; Fred's boots and belt: E47, E43, E34 ; Fred's beard: N2 ; Snow: N6, N4, N2. If you are anything like me, I was not sure if I could get the hang of coloring with alchohol markers. I started buying them a couple of years ago, but never used them very much because I thought it was a difficult learning curve. Well....I was wrong! With practice, I am getting better and better each time I use them! I have bought three different brands of alcohol markers: Copics Sketch, Alenew and Stampin' Up! markers. Copics are by far my favorite, but all three work nicely together, and I often use them all together. It took practice, but I am loving the look I am achieving!
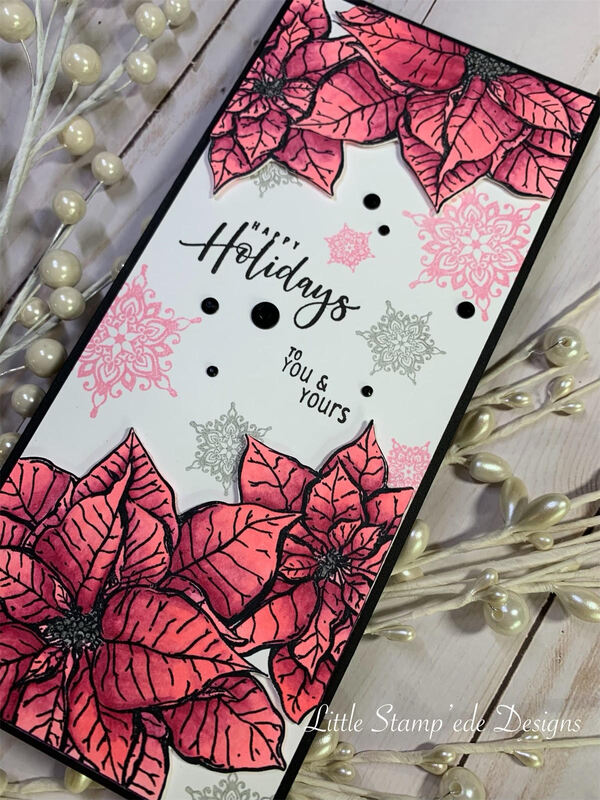
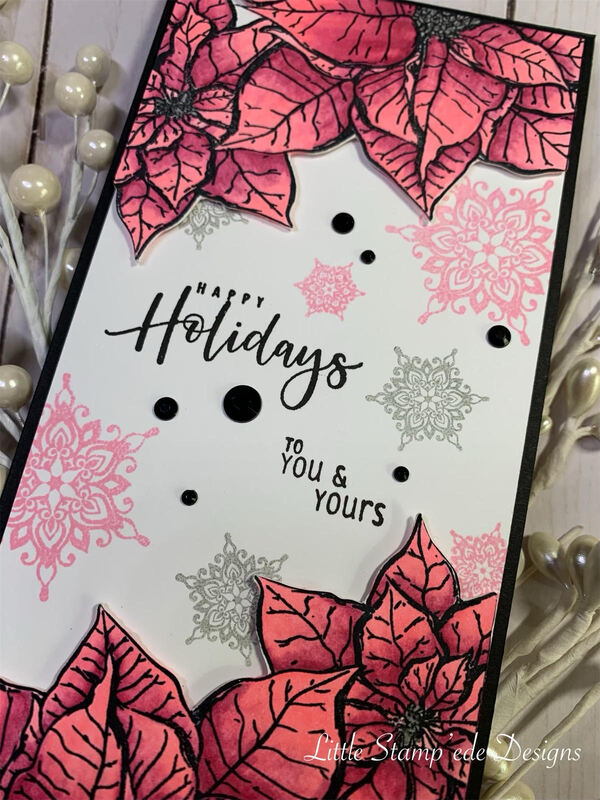
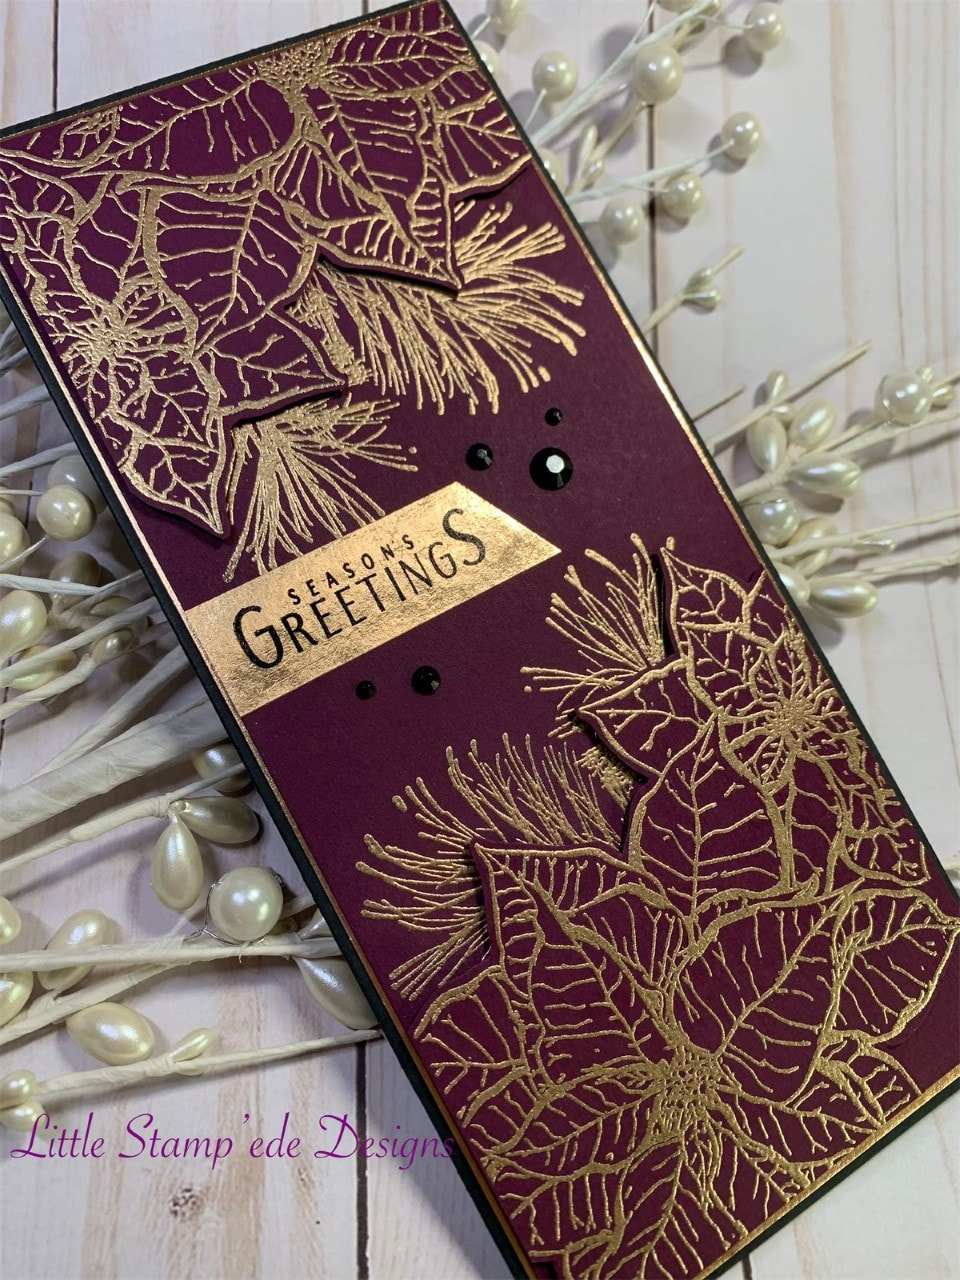
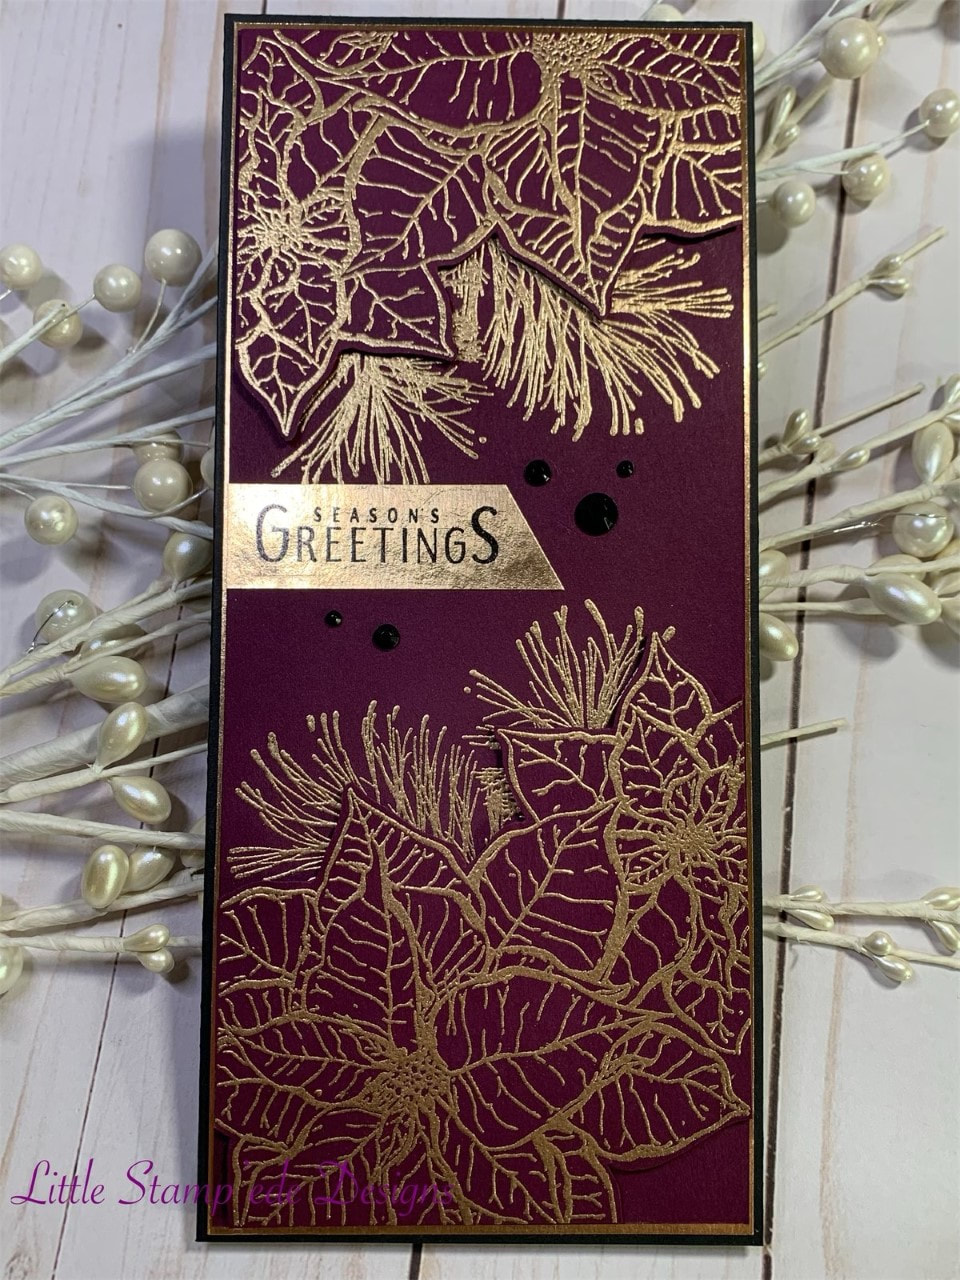
With this card, I used the Slimline Poinsettia stamp set and paired it with Nordic Snowflakes, both from Colorado Craft Company. I discovered this stamp company last Christmas season, and they are a great company with high quality stamps! Right now you can get a 15% discount until Cyber Monday with the code BF2CM! I stamped the poinsettia images with Memento Ink, and then used my Scan-N-Cut to cut the images out. I then colored the poinsettias with the dark and light Rococo Stampin' Up! markers and finished it with Copic RV21. This color combo is stunning! I stamped the Nordic Snowflakes in alternating colors to match the poinsettias and added gray since the cardbase was going to be black. I popped the poinsettias with foam tape, added the sentiment from the Slimline Poinsettia stamp set and finished with some black bling. Cardbase is 110lb black cardstock. I am pleased with how this turned out! Hello!! Welcome to my first blog!! Blogging is new to me, and honestly I’ve been intimidated by the thought of blogging, so I have held off.....until now! I love to craft, and I want to share what I love with you, so here I am! I love all facets of paper crafting. I mostly create cards and scrapbook, and I will also throw in some other projects as I see something I want to try. Some projects are successful, some not so much, and that’s okay! I love learning as I go! Some of my projects are easier to do than others, so I hope you will learn something new from time to time. I also hope I learn from you too, so please comment! I will also post any craft sales that I find out about, so visit often! So please join me in my journey through the crazy world of paper crafting and I hope I inspire you to craft along with me! Happy Crafting! ~Sammi So for my first card blog, I created this beautiful, elegant slimline card using the Slimline Poinsettia stamp set from Colorado Craft Company, paired up with Winter Blessings from Unity Stamp Company. I love both of these stamp companies and these two stamp sets pair up beautifully! I used Antique Gold embossing powder from Simon Says Stamp for embossing and I fussy cut the poinsettias and popped them up with foam tape. I don’t particularly like fussy cutting, but this image was easy to fussy cut. Before popping up the poinsettias, I embossed the pine branches under where the poinsettias would go making sure the branches peek from underneath. I then used some foil paper that I had in my stash and stamped with Stazon ink the sentiment from the Slimline Poinsettia stamp set. I used Blackberry Bliss cardstock from Stampin’ Up! and some black bling to tie it all together. The card base is 110lb black cardstock and I used the same foil paper as a mat. I was going for elegant and sophisticated and I love the results! What do you think? |
Follow Sammi:AuthorI love to create and invite you to join me in my journey in this crazy paper crafting world we live in! Archives
February 2022
Categories |


 RSS Feed
